Detailed Disassembly and Reassembly of the Makarov PM Pistol

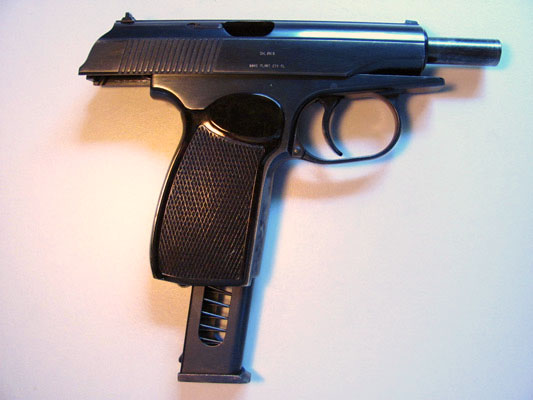
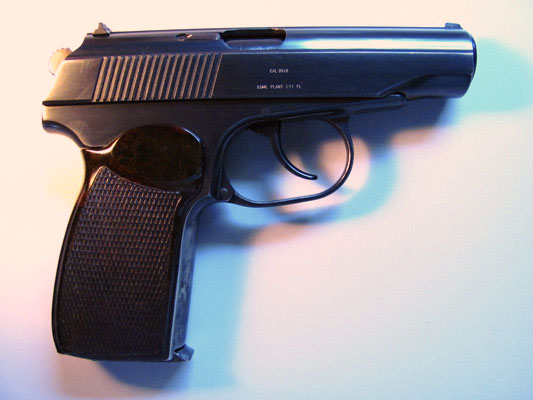
The Pistolet Makarova, designed by Nikolay Fyodorovich Makarov, was the Soviet Union's standard military sidearm from 1951 to 1991. It's a double-action, blowback, 9 mm Makarov caliber, produced in the Soviet Union, East Germany, Bulgaria, and China. Civilian versions are still produced in China, Bulgaria, and Russia.

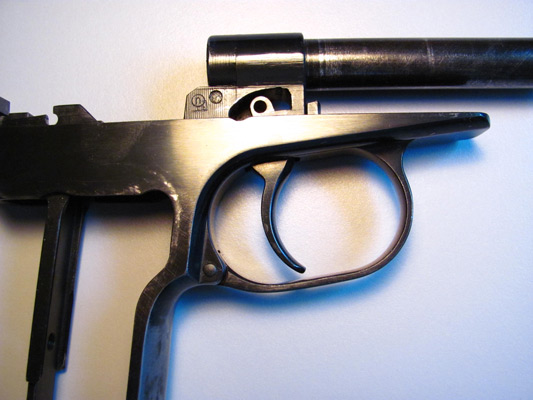
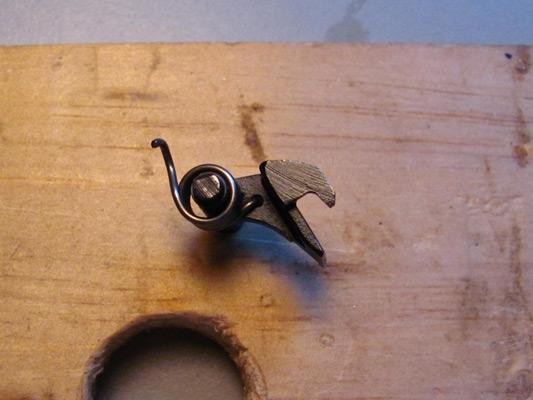
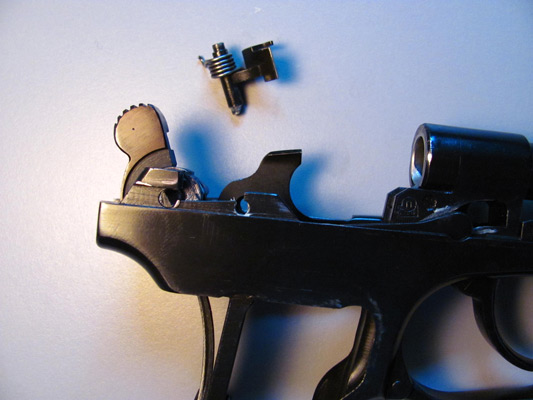
It's a brilliant, robust, elegantly simple design, with some parts performing multiple functions.

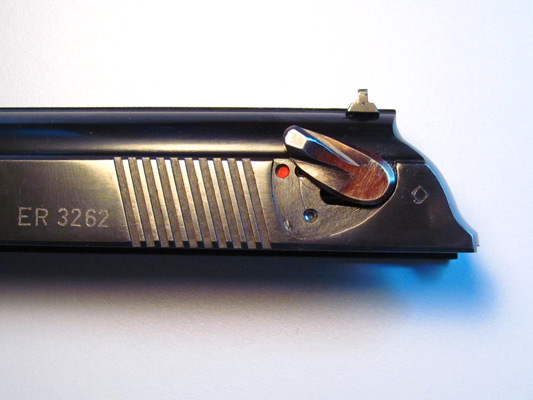
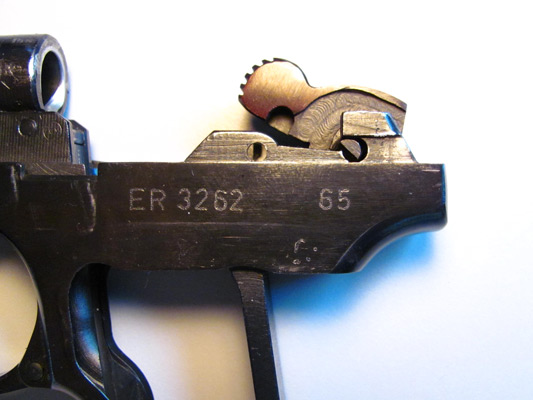
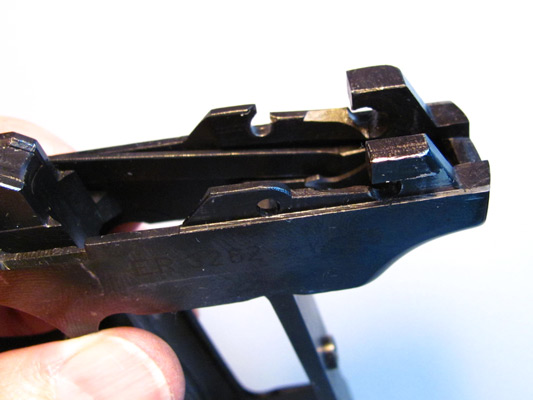
The Russian cold-war-era pistols are more rare and valuable, and the German versions are more perfectly finished than the others. This example was made in 1965 in East Germany.


Before working on the pistol, remove the magazine and clear the chamber.


Loosen the grip screw. On the East German version, the screw does not need to be removed from the grip.


Slide the grip straight back and remove it.


Pull the trigger guard down and to one side and hook it on the side of the frame. Hold it that way while you pull the slide back, up, and off the frame.

Pull off the recoil spring. It comes off easier if you rotate it clockwise. Notice that the tight end goes to the rear.


Remove the safety by rotating it up beyond it's usual position. Continue to rotate it clockwise while pulling it out.


Now the firing pin will fall out.


Use a small tool to unhook the sear spring from the slide stop...


...and let it down.


Rotate the slide stop toward the rear, and the sear toward the front, and the sear will disengage from the frame on the right side. Then pivot the sear out with the slide stop.


The mainspring retaining clip slides down and off to release the mainspring.


The hammer rotates forward and disengages from the frame.


Lift out the trigger bar.


With the trigger guard down, the trigger will move forward, down, and out of the frame.


You've disassembled your Makarov into 14 pieces, which isn't very many for a self-loading pistol.

Part of the genius of the Makarov design is that some parts do the work done by two or three parts in other designs. For example, the slide stop is also the ejector, the sear spring is also the slide stop spring, and the mainspring is also the trigger spring, the magazine catch, the magazine catch spring, and the magazine release button.

If you wish, you can remove the extractor and the trigger guard for an additional seven pieces--maybe some time I'll add pictures of those operations.


Reassembly

Now let's put it back together. First some weasel words: Don't blame me if things turn out badly--I don't assert that the following is correct; I'm only showing pictures of how I like to do it.


First open the trigger guard, wiggle the trigger into place...


...and close the trigger guard to keep the trigger there.


Insert the front pin of the trigger bar into the hole in the top of the trigger. The trigger bar fits into a slot inside the right side of the frame.


Here's the trigger bar in the frame.


Tip the hammer forward, put the right side into the hole in the right side of the frame, and when the hammer angle is right, the left side will drop into the hole in the left side of the frame.


Here's the trigger bar and hammer. The most tricky part of reassembly is coming up, but I think I've figured out an easy way to do it.


Diddle the disconnector on the rear end of the trigger bar until it engages the hammer like this.


Then put the mainspring in place, as shown, with the long part of the mainspring in the cutout in the front of the hammer, and the shorter part behind the disconnector.

Press and hold the mainspring in place and check to see that there's a little spring pressure if you move the hammer either forward or back, and that there's a little spring pressure on the trigger. The trigger will even make the hammer move.


Now press and slide the mainspring clip up into place.


This is the best part. Pull the trigger slightly...


...and watch the hammer move back as the disconnector (which also cocks and releases the hammer in double action) comes up against it. Don't pull far enough to let the hammer drop.

Now you know the double-action function is working.


The sear spring goes onto the sear like this.


Put the slide stop in place.


Tip the sear forward and put its left axle through the slide stop and into the left side of the frame as the right axle drops into its hole in the right side. Then tip the slide stop up like this and rotate the sear back to engage the hammer.


Then rotate the slide stop into its proper position, and it all looks like this.


Catch the sear spring with a small tool...


...lift it over the slide stop...


...and be sure it catches securely. That completes asssembly of the frame.


Here's how the sear and hammer look with the hammer down...


...and with the hammer cocked.


To assemble the slide, first insert the firing pin into the slide.


Rotate it with a small tool until it looks like this.


Insert the safety...


...press it into the "safe" position...

...and snap it into the "fire" position. (The slide won't go on with the safety in the "safe" position.)


Install the recoil spring and slide, and it's all back together.


Other Curio & Relic Firearms


© 2011 Porter Rockwell

Valid HTML 4.0 Transitional     Valid CSS

track website hit
StayBridge Suites Coupon Code